
Free Crochet Baby Bonnet Pattern
This post contains some affiliate links. If you click on the link and purchase I will receive a small commission. This way I can continue creating my patterns and giving them to you for free.
Beginner Crochet Pattern: The Dottie Bonnet

The Dottie Bonnet is so much fun to make and so easy too. Made from a single rectangle shape using single crochet and puff stitches, it is a wonderful beginner project. When the rectangle is complete, the bonnet is folded in half and a seam is made down the back of the bonnet. Next, the bottom and front edging is stitched and lastly the straps. Simple! The Dottie Bonnet looks amazing with the Dottie Dress which is pictured in the photos. Happy puff stitching!
Buy the Ad Free, Colour Coordinated Pattern

Why should I buy the pattern you may ask? My patterns are colour coordinated by size and so easy to read! The pdf is printable and totally worth the money! You can purchase the ad free and colour coordinated pdf pattern at shopthemoulehole.com.

Materials:
*4.00mm(U.S G/6) crochet hook or size needed to obtain gauge
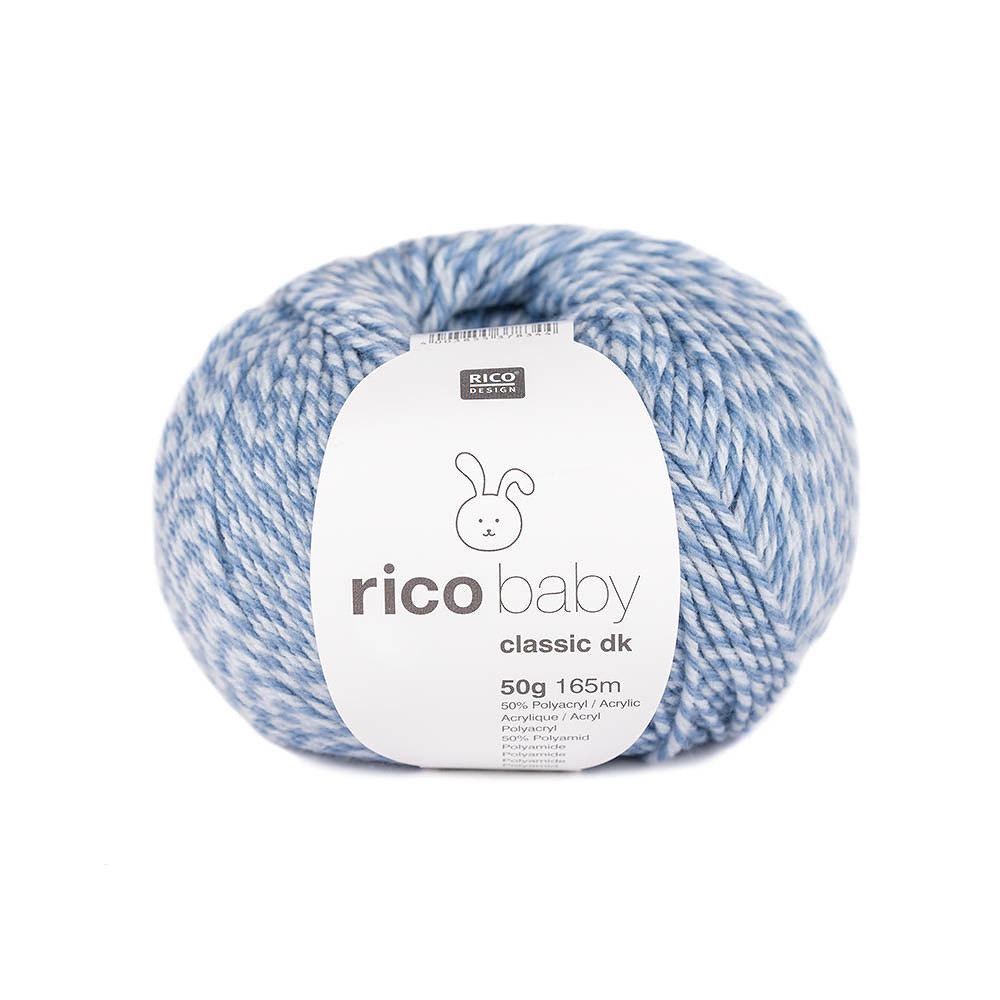
*I used Rico Baby Classic DK in the colour Lavender (73). 165m/180yds/50g per skein. If you purchase from this link, I will earn a small commission and can continue creating my patterns. Your support means the world to me! See chart below for approximately how much yarn you will need.

Gauge
20 sts/20 rows= 10cmX10cm (4X4 inch) in sc
Do you need to do a gauge swatch??? YES and here is why…Click the photo below to find out.

Stitches & Abbreviations Used
ch- chain stitch
puff- puff stitch explanation below
RS- right side
sc- single crochet
sp- space
st or sts- stitch or stitches
WS- wrong side
yo- yarn over
If you have any questions about my pattern, please get in touch!
Email: nadia@themoulehole.com
Instagram: @themoulehole
Facebook Community Group: Moule Hole Made
Measurements & Yarn Requirements
| Size | Approximate Head Circumference | Yarn (approx length in meters/yards and weight in grams) |
| 0-3 mo | 41cm/16in | 132m/144yds/40g |
| 3-6 mo | 43cm/17in | 165m/181yds/50g |
| 6-12 mo | 46cm/18in | 248m/271yds/75g |
| 1-2 yrs | 48cm/19in | 281m/307yds/85g |
| 3-5 yrs | 51cm/20in | 314m/344yds/95g |
Sizes are written as follows:
| 0-3 months | 3-6 months | 6-12 months | 1-2 years | 3-5 years |
Special Stitch
Puff Stitch:
*yarn over, insert hook into st, pull up a loop, repeat from * 4 more times (there will be 11 loops on your hook), yarn over, pull through 10 loops, yarn over, pull through the last 2 loops. Puff stitch complete.


Pattern Testing Photos
I get all of my patterns tested by some amazing ladies. I wanted to showcase their versions of the bonnet for you to see! Aren’t they beautiful???


The Pattern
Bonnet Body
Leave a long tail for seaming, ch
57 (64, 71, 71, 78)
Row 1 (RS)
Sc in the 2nd ch from hook and in each ch to the end of the row, turn
Total sts: 56 (63, 70, 70, 77)
Row 2 (WS)
Ch1 (does not count as a st here and throughout), sc in each st across the row, turn
Total sts: 56 (63, 70, 70, 77)
Row 3 (RS)
Repeat Row 2
Row 4 (WS)
Ch1, sc in the first 3 sts,
puff in the next st, sc in the next 6 sts,
repeat from * to the last 3 sts, sc in the last 3 sts, turn
Rows 5–7
Ch1, sc in each st across the row, turn
Repeat Rows 4–7 until your bonnet measures:
14 (15, 16.5, 18, 19) cm
5.5 (6, 6.5, 7, 7.5) in
End on a RS row. Do not break yarn.
Seam
Fold your rectangle in half with RS facing inward.
Using the starting tail, seam the back of the bonnet.
Turn bonnet right side out.

Seam
Fold your rectangle in half with RS facing inward.
Using the starting tail, seam the back of the bonnet.
Turn bonnet right side out.
Bottom Edging
You will now be working along the ends of the rows.
Row 1 (RS)
Ch1,
sc in the first row, sk the next row,
repeat from * to the last st, sc in the last st, turn
(This helps shape the bonnet gently around the neck.)
Row 2 (WS)
Ch1, sc across the row, turn
Row 3 (RS)
Repeat Row 2
Front Edging
Turn the bonnet so you are now working across the front.
Row 1 (RS)
Ch1, very loosely,
sc in the first st, sk the next st,
repeat from * to the last st, sc in the last st
This will pull the front edge in slightly to frame the face.
Be sure to keep these stitches nice and loose.

Straps
Ch 45 (50, 55, 60, 65)
Sl st in the 2nd ch from hook and in each ch across
Fasten off
Join yarn to the opposite side of the bonnet and repeat for the second strap.
Finishing
Weave in all ends.
-go directly to Facebook or Instagram to share pictures of your Dottie Bonnet make sure you tag me or use the hashtag #tmhdottiebonnet. I love to see them!
Support My Work 💛
If you’ve enjoyed this free pattern and found it helpful, you can support my work here:
Support The Moule Hole on Ko-fi
Thank you so much for crocheting with me and helping me continue doing what I love. If you’d like to stay in touch, you can join my mailing list here 💛

Make the matching Dottie Dress!
Dottie Dress- shopthemoulehole.com


