This post contains some affiliate links. If you click on the link and purchase I will receive a small commission. This way I can continue creating my patterns and giving them to you for free.
Beginner Crochet Blanket Pattern- Midnight Hour Blanket

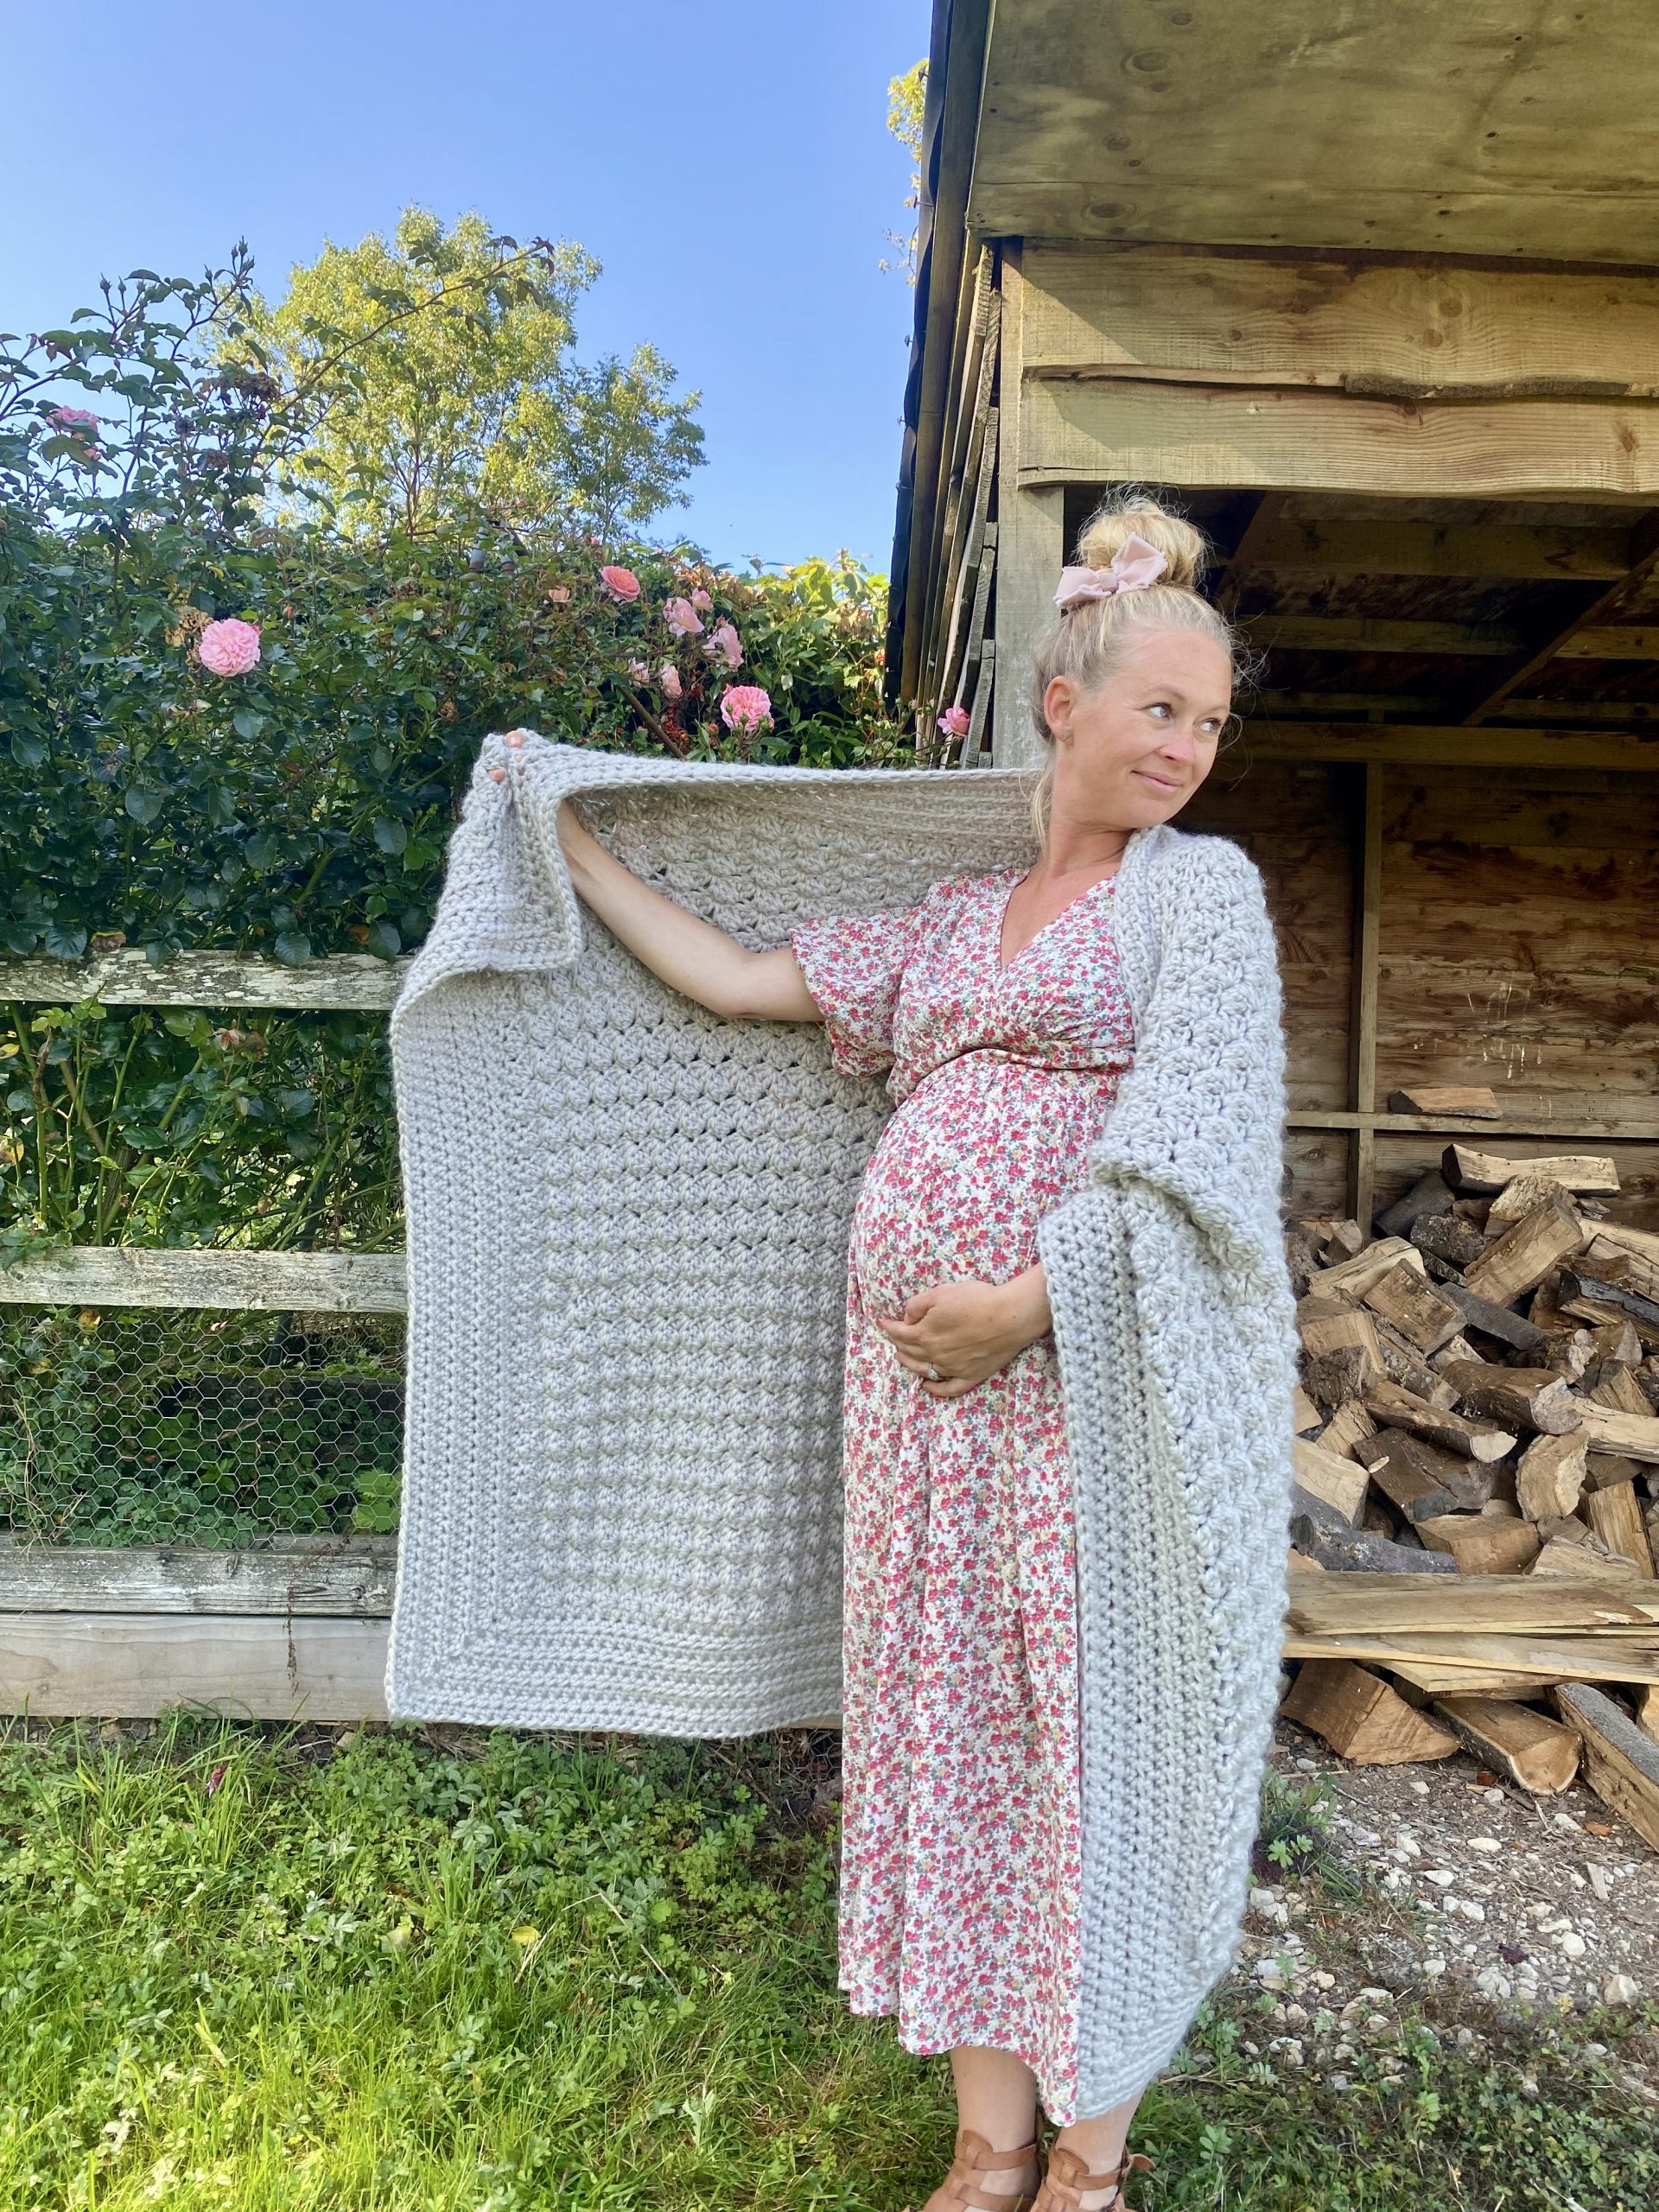
As I am writing this pattern, I am waiting for the arrival of our 3rd baby. I wanted to make a really warm and cozy blanket to bundle up with when I am awake for the late night feeds. It is always so chilly when you have to leave your warm bed to comfort or feed a tiny human! This blanket is worked in a 3 stitch repeating pattern so it is very easy. The super bulky yarn is amazing when you need some instant gratification, the pattern works up really quickly. The stitch pattern is a multiple of 3 stitches plus 1 (add 2 for the foundation chain).
Buy the Ad Free, Printable Pattern

You can purchase the ad free and colour coordinated pdf pattern on Etsy, shopthemoulehole.com (my independent shop).
Materials:

*12.00 mm crochet hook or size needed to obtain gauge
*Super Bulky Yarn, I used 14 skeins of Hobbii UMAMI yarn (150g/80m/90yds) in the colour Mushroom (03). This yarn is so beautiful and I am very grateful to Hobbii for providing the yarn for this project.
A couple of alternative yarns that would work perfectly are Paintbox Yarns Simply Super Chunky, (100g/60m/66yds), Lion Brand Hometown USA (140g,74m/ 81yds) & Lion Brand Wool Ease Thick & Quick (170g,97m/106yds).
*tapestry needle
| Size | ||
| Throw Blanket | 145cm by 107cm | 57 by 42 inches |

Gauge:
6 sts/ 6 rows= 10cmX10cm (4X4 inch) in hdc sts
Stitches and abbreviations used:
ch- chain stitch
dc- double crochet
sc- single crochet
sp- space
st or sts- stitch or stitches
No Weaving in Trick!!!!
I could not be faced with weaving in the ends of this blanket. This is the trick I use to join two skeins of yarn. Due to the fact the yarn is so chunky, the small knot created by the join is very easy to hide in the stitches.
The Pattern

| Blanket Body | ||
| Ch | 80 | |
| or any multiple of 3 chains, plus 2 which will count as the first st in row 1 | ||
| Row 1 | ||
| 2 dc in the 3rd ch from hook (ch2 counts as a stitch), *skip the next 2 sts, sc/dc/dc in the next, st repeat from * to the last 3 ch sts, sk the next 2 ch sts, sc in the last st, | ||
| Total sts | 79 | sts |
| Row 2 | ||
| ch2 (counts as a st here & throughout), 2dc in the first st, *sk the next 2 sts, sc/dc/dc in the sc st, repeat from * to the last 2 sts, sk the last 2 sts & sc in the 2nd ch of the ch2, turn | ||
| Total sts | 79 | sts |
| Repeat row 2 until your blanket measures: | 117 | cm |
| 46 | in | |
| or your desired length. End on a RS row. Do not break yarn. |
| Blanket Border |
| *Note* I tried placing an hdc in each stitch at the top and bottom of the blanket and found that the border became “wavy” from too many stitches. You may need to experiment with the number of hdc stitches along the top and bottom of the border to make yours the perfect tension to match with the previous stitch pattern. I have written the instructions below the way that worked for me. The stitches in the border at the top and bottom were slightly tighter than the body of the blanket but after blocking it looks perfect. |
| Row 1 |
| ch1, *sk the sc, hdc in the next 2 dc sts, repeat from to the end of the last st, hdc in the last st (see photo below) [OR hdc as evenly as possible across the top of the blanket] |
| rotate the blanket so you are now working down the side |
| ch2, place one hdc into the end of each row going down the side of the blanket until you reach the bottom of the blanket |
| rotate the blanket so you are now working across the bottom into the starting chain |
| ch2, *sk the first ch, hdc in the next 2 ch sts, repeat from * to the last st, hdc in the remaining st [OR hdc as evenly as possible across the bottom of the blanket] |
| rotate the blanket so you are now working up the side |
| ch2, place one hdc into the end of each row going up the side of the blanket until you reach the top of the blanket |
| ch2 and sl st to the first hdc you made at the top of the blanket, turn |

| Blanket Border Continued…. |
| Row 2 |
| ch1,(sk the sl st), hdc/ch2/hdc in the ch2 sp, *hdc to the next ch2, hdc/ch2/hdc in the ch2 sp, repeat from * 2 more times |
| hdc to the first hdc of the row, sl st to the first hdc in the row, turn |
| Row 3 |
| ch1,(sk the sl st), , *hdc to the next ch2, hdc/ch2/hdc in the ch2 sp, repeat from * 3 more times |
| hdc to the first hdc of the row, sl st to the first hdc in the row, turn |
| Repeat rows 2 & 3 until you have completed a total of 6 border rows or your desired length. |


